
Reusable stainless casting shapes
ShapeCasters are made from stainless steel, and can be reused many times for casting at or below 1500F. After use, they will develop a purple oxide layer. Don’t remove this; it helps protect the metal from further corrosion. ShapeCasters can be used at higher temperatures, but may “spall” (corrode and flake) which can somewhat shorten their usable life.

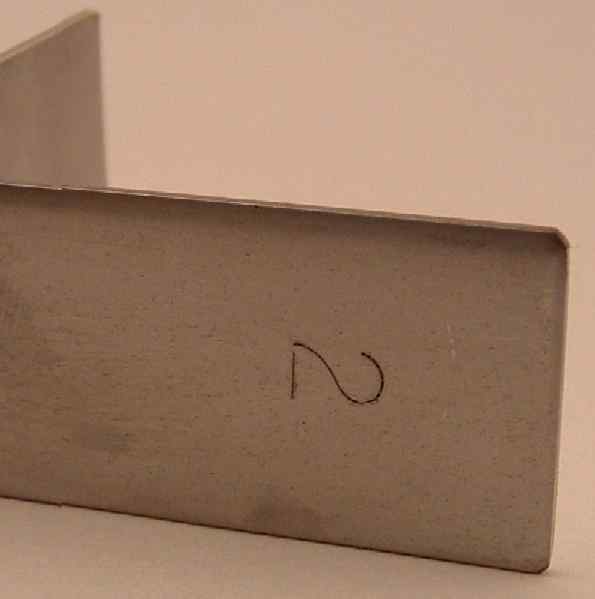
ShapeCaster Circles are labeled by size, stamped into the metal approximately opposite the weld. The number indicates the approximate diameter (in inches) that can be cast inside the Circle, using 2 layers of 1/8” fiber. You can use more or less fiber to make a larger or smaller disk, but NEVER LESS THAN ONE layer. If hot glass comes in contact with metal, it will stick, possibly ruining both the casting and your Shapecasters.
ShapeCaster Angles are labeled at the end. "Equal angles" (legs the same length) are labeled on one end; unequal angles are marked to show the length of each leg. The Angle size shows the length that leg will cast by lining the inside with one layer of 1/8” fiber and placing them together end-to-end.
Angles can also make larger or smaller castings; we’ll show you how further on. As with Circles, Angles can define edges on both sides, allowing you to create voids or make multiple castings simultaneously.
Because ShapeCasters are made from light gauge metal, they are easily reshaped by hand.
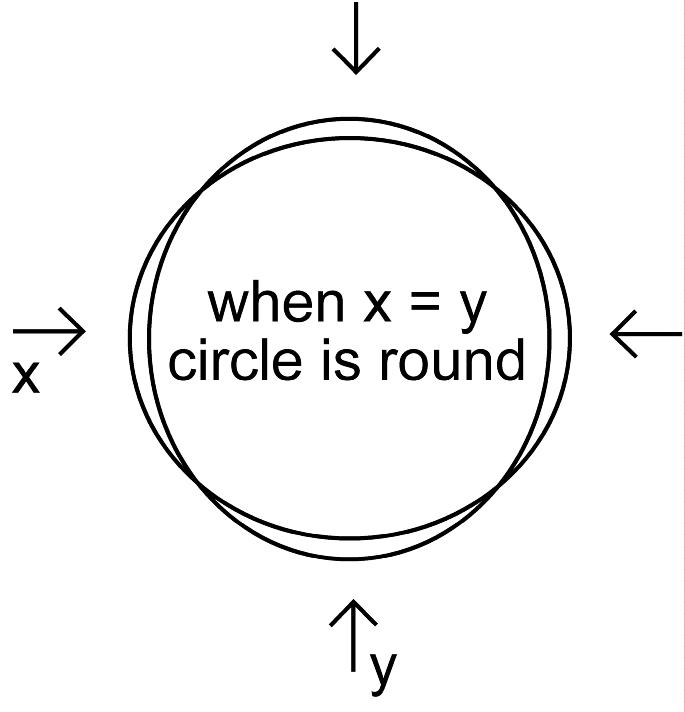
True up Circles by laying the Circle on a piece of paper or cardboard larger than the circle. Run a pen or pencil around the inside of the Circle, then rotate the Circle 90°. The gap between the drawn line and the Circle is the amount out of round. Push on the long side of the Circle and look at the gap again. When you have reduced the gap by about half, draw another line around the inside of the Circle and repeat the process. When you can't see a difference, the Circle is round.
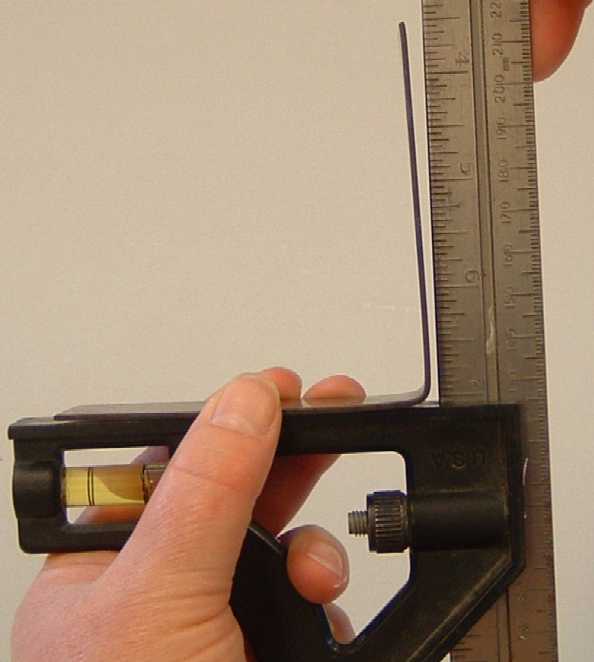
True your Angles by using a combination square to check for squareness, as pictured.Combination Squares are available at any hardware store for a few dollars, and have many uses in a glass studio. If an Angle needs adjustment, hold one side flat on a table and push or pull on the other to adjust it. Applying pressure near the bend (as opposed to near the end) helps keep the leg straight.
You can use a protractor in the same way to create custom angles.